Walkthrough 10-3: Handle specific types of errors
In this walkthrough, you continue to work with the application’s default error handler. You will:
· Review the possible types of errors thrown by different processors.
· Create error handler scopes to handle different error types.
Starting file
If you did not complete the previous walkthrough, you can get a starting file here. This file is also located in the solutions folder of the student files ZIP located in the Course Resources.
Review the possible types of errors thrown by a Web Service Consumer operation
1. Return to implementation.xml.
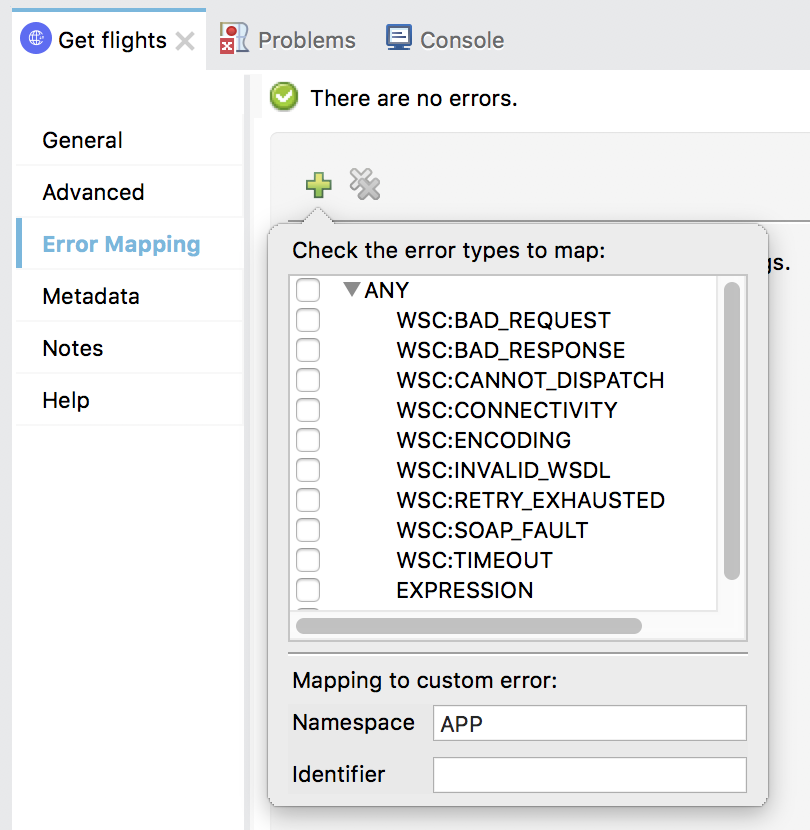
2. Navigate to the properties view for the Get flights Consume operation in getDeltaFlights.
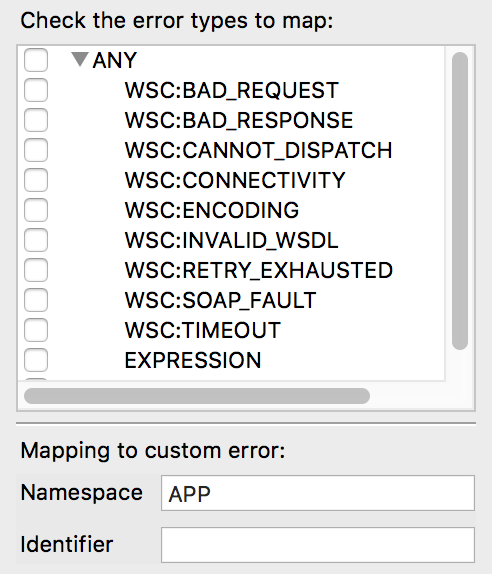
3. Select the Error Mapping tab.
4. Click the Add new mapping button and review (but don’t select!) the WSC error types.
Review the possible types of errors thrown by a REST Connector operator
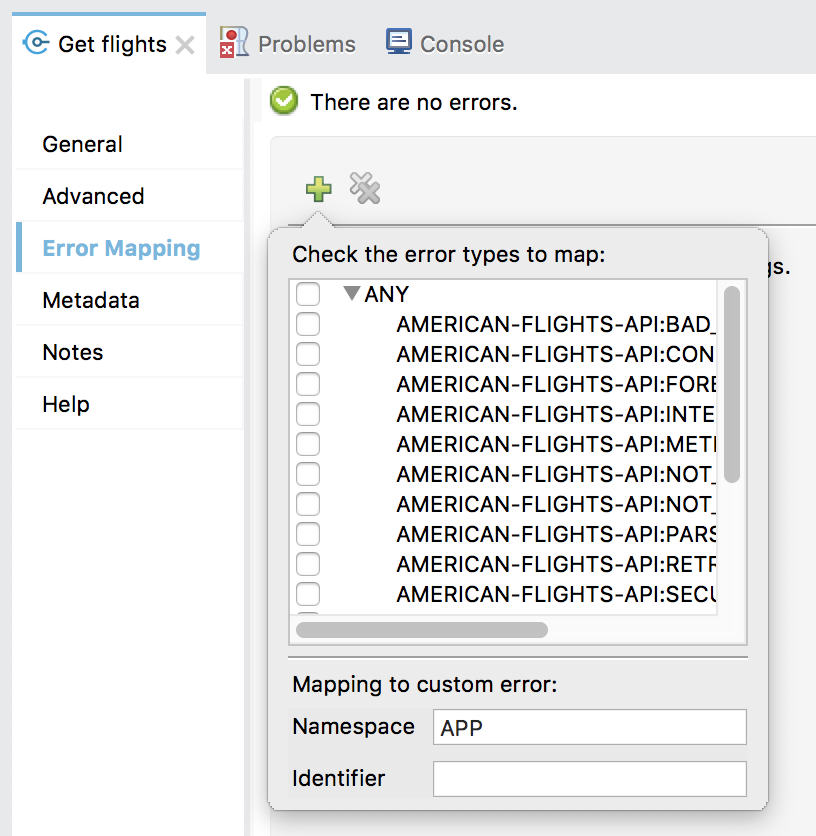
5. Navigate to the properties view for the Get flights operation in getAmericanFlights.
6. Select the Error Mapping tab.
7. Click the Add new mapping button, and review (but don’t select!) the AMERICAN-FLIGHTS-API error types.
Review the possible types of errors thrown by a Validator operation
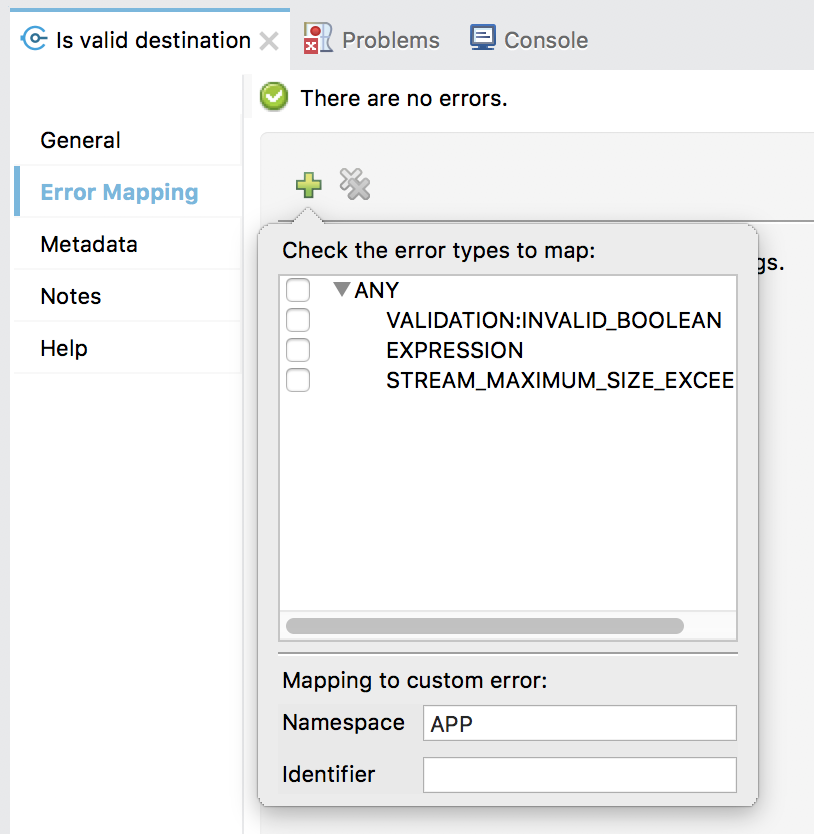
8. Navigate to the properties view for the Is true validator in getFlights.
9. Select the Error Mapping tab.
10. Click the Add new mapping button and locate (but don’t select!) the VALIDATION error type.
Add a second error handler scope to catch Web Service Consumer connectivity errors
11. Return to global.xml.
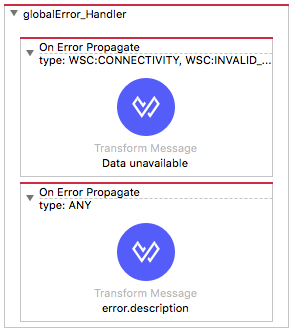
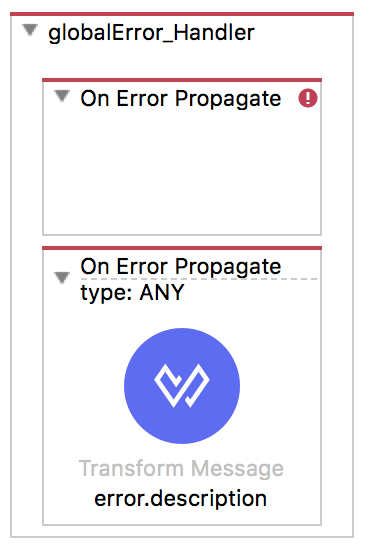
12. Add a second On Error Propagate to globalError_Handler.
13. If necessary, drag and drop it so it is the first scope inside the error handler.
14. In the properties view for the new On Error Propagate, click the Search button.
15. Select WSC:CONNECTIVITY and WSC:INVALID_WSDL.
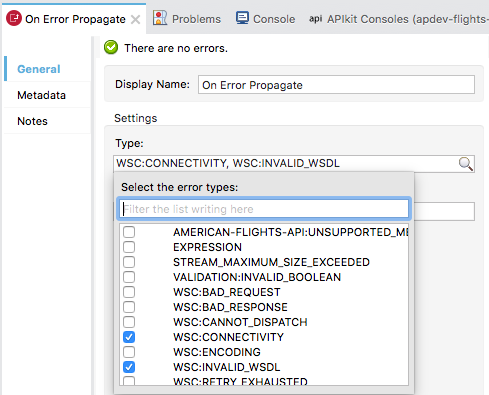
Note: If these values do not show up in the drop-down menu, type this information instead. The two values should be comma-separated.
16. Add a Transform Message component to the new On Error Propagate and set its display name to Data unavailable.
17. In the Transform Message properties view, change the output type to application/json.
18. Add a message property to the output JSON and set give it a value of “Data unavailable. Try later. ”.
19. For development purposes, concatenate the error.description to the message; be sure to use the auto-completion menu.
20. Coerce the variable to a String.

Test the application
21. Save the file to redeploy the project.
22. In Advanced REST Client, make another request to http://localhost:8081/flights?airline=delta&code=PDX; you should now get a 500 Server Error response with your new Data unavailable message.

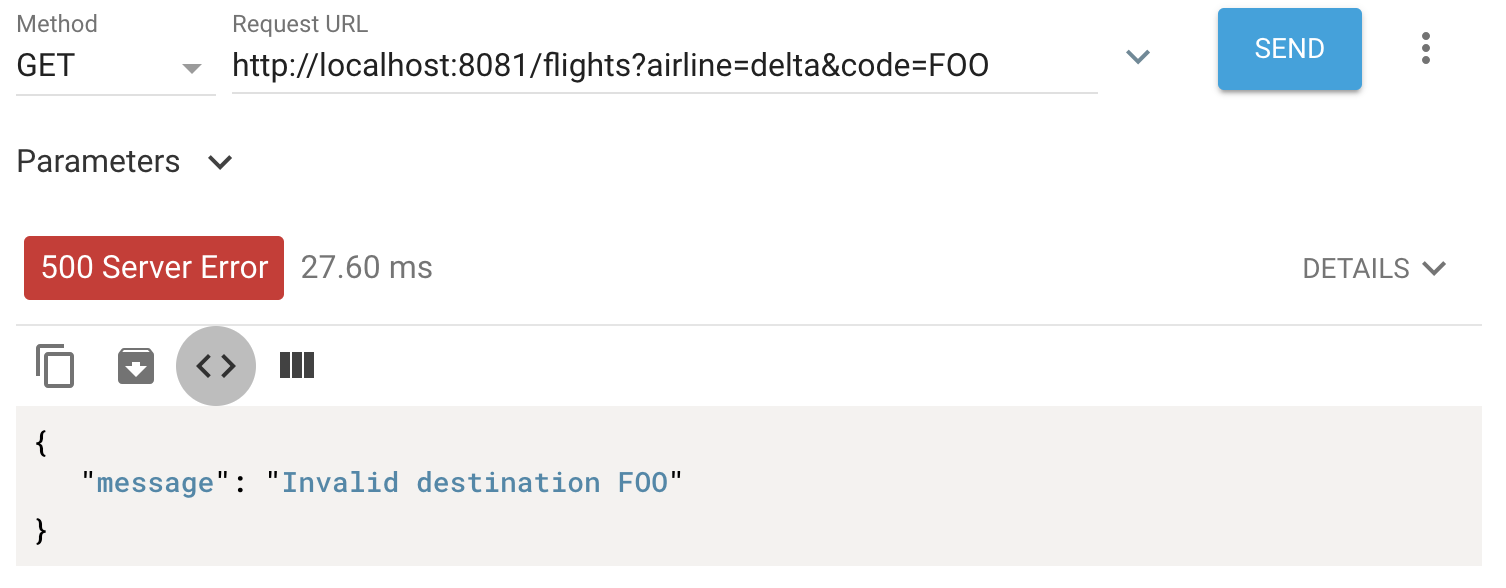
23. Change the code to make a request to http://localhost:8081/flights?airline=delta&code=FOO; you should still get a 500 Server Error response with the Invalid destination JSON message.
Note: This should also not be a server error, but either a 4XX bad request or a 200 OK with an appropriate message. You will handle this error differently in the next walkthrough.
24. Return to Anypoint Studio.
25. Stop the project.